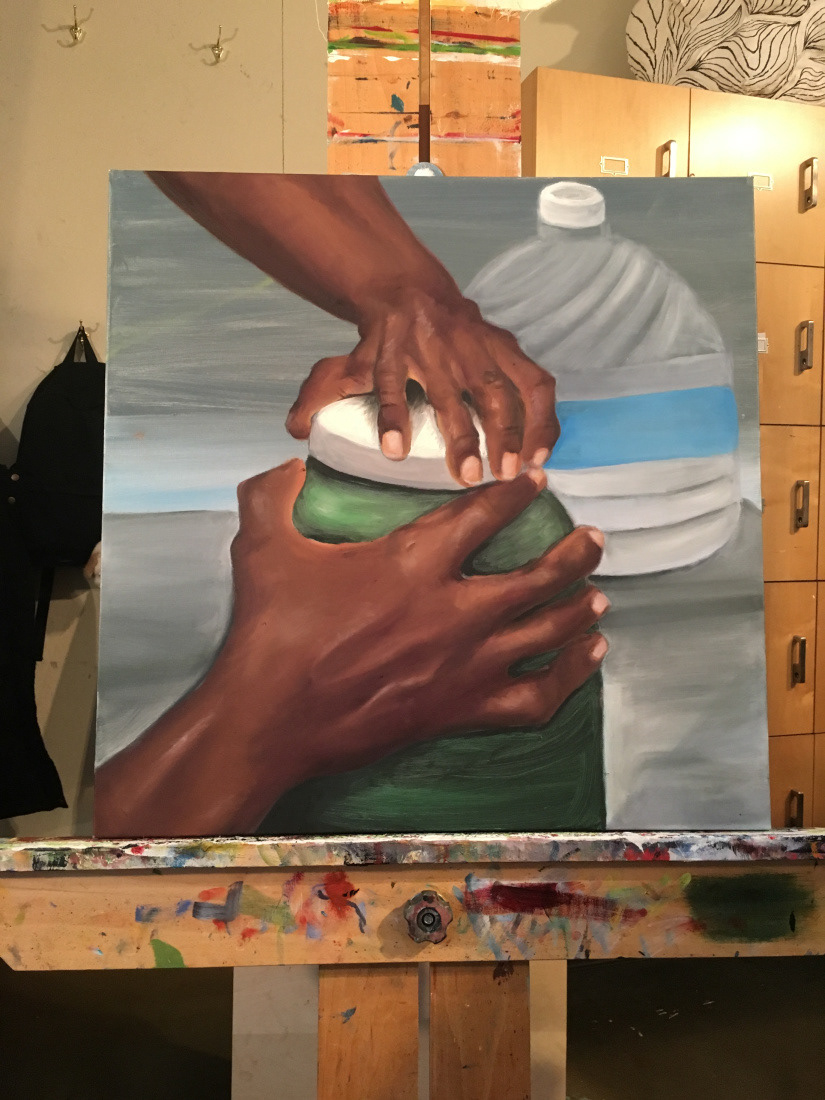
Painting III of the Series: Skin Study
Size: 24 x 24
Medium: Oil and canvas
Welcome to the first of the skin study series: cataloging my painting process and techniques!
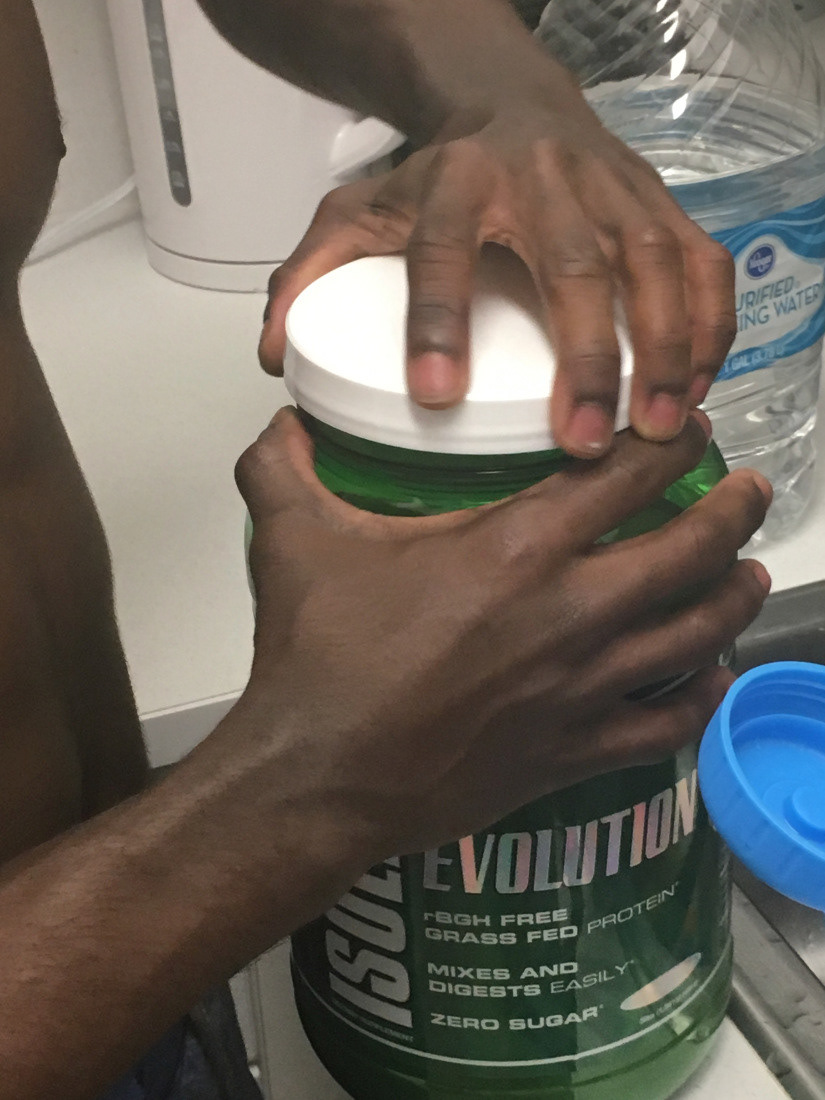
Step 1: The Reference Photo
A messy snapshot of a friend opening a jar. I selected this one because the tendons and muscles in his arm are really emphasized here-easier to paint.
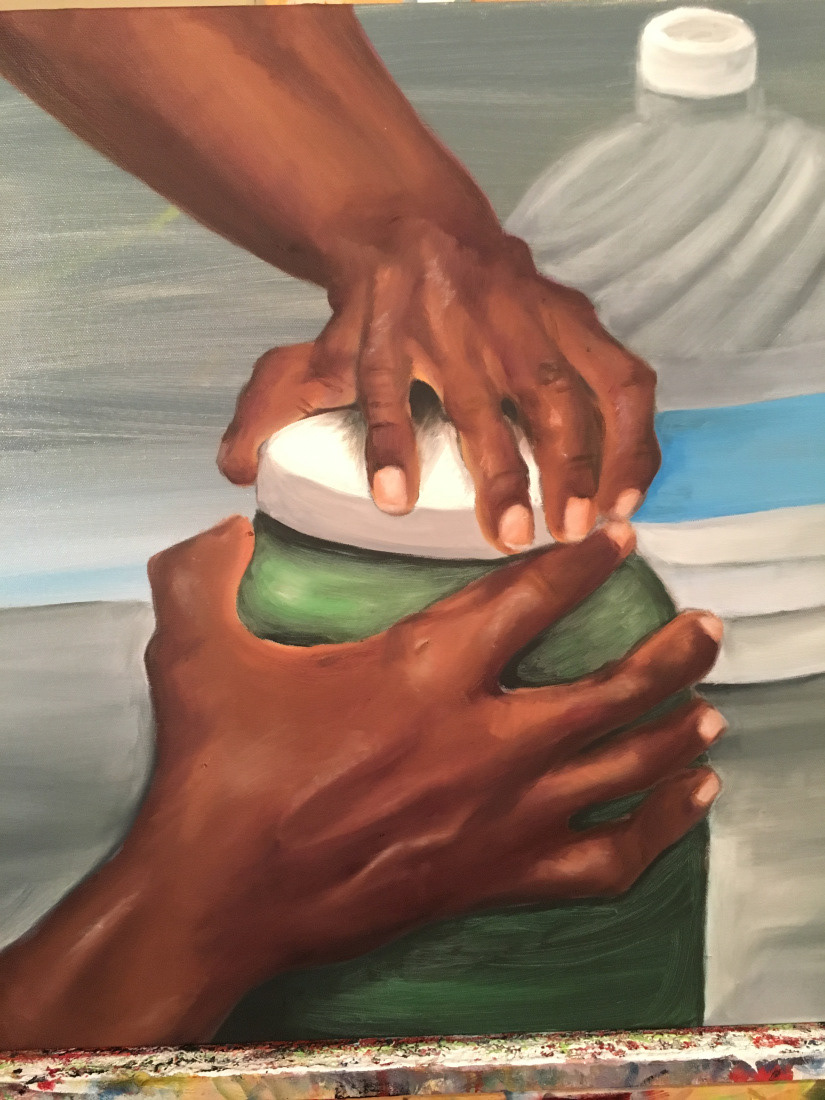
Step 2: Work in Progress
Unfortunately, I got wrapped up in the painting and didn't take step by step photos (boo me) but I'll break it down:
The initial wash -blue to contrast the darker skin tones
The sketch of the hands and jar
A second wash over the arms- purple to make the arm's underlying tone pop
I colored in the lighter areas of the arm (white, cream tones) first and then painted the darker colors (umber, black) in so they blended together smoothly.
Step 3: The Finished Piece!
Painted in the jar and the background water jug
Smoothened the rough edges
Skin study done!